
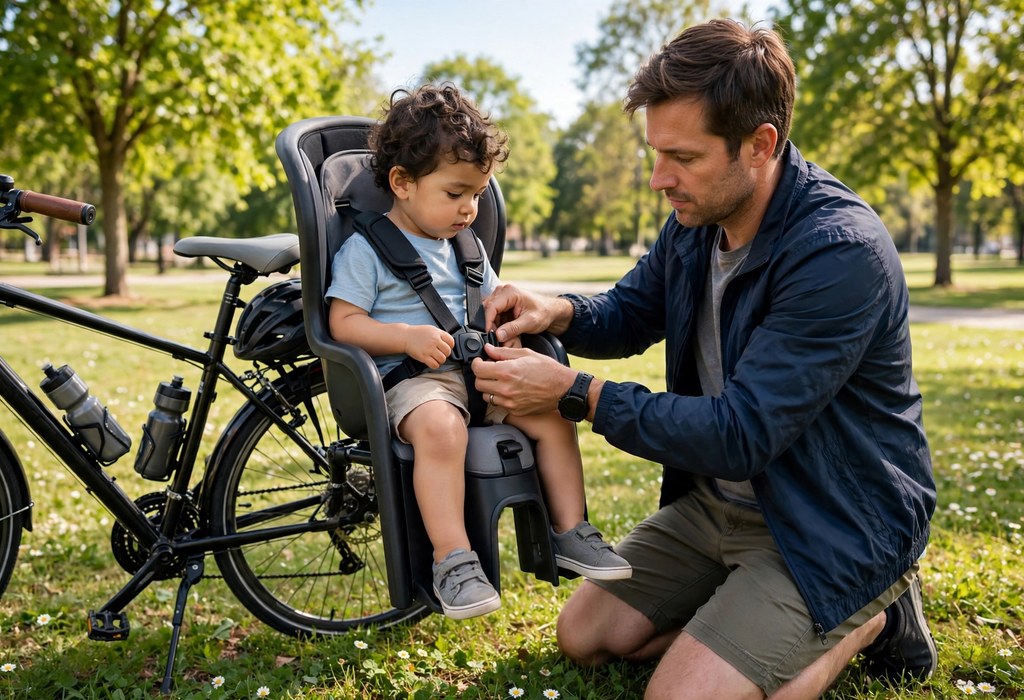
Yes, baby bike seats protect your child well when you follow proven safety guidelines. Start riding only after your baby sits independently and supports a helmet. In addition, always choose a certified seat, fasten the harness completely, and select calm routes.
Every parent imagines peaceful family rides through quiet neighborhoods. However, a baby bike seat changes your balance and braking distance. It also raises your center of gravity. Therefore, safe rides demand deliberate preparation rather than quick guesswork.
This guide covers readiness signs, seat types, essential features, helmet fit, and installation steps. Moreover, you will learn pre-ride checks, road rules, handling tips, common mistakes, and simple maintenance habits. Read every section before your first outing with your little one.
Know When Your Child Is Ready
Physical Readiness Signs
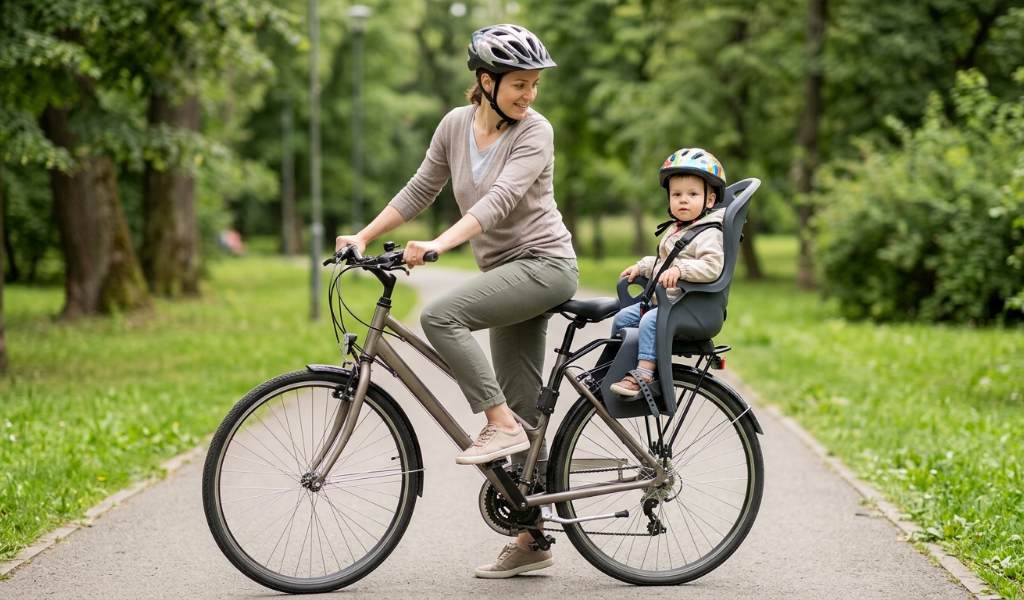
Age alone never decides readiness for a baby bike seat. First, your child must sit upright on the floor without support. Next, they need steady head and neck control during bumps.
Test neck strength with a lightweight helmet indoors. Additionally, watch whether the helmet stays level during short play sessions. If the head tips forward repeatedly, wait a few more weeks.
Alertness matters just as much as physical strength. Moreover, your baby should stay awake and engaged for at least fifteen minutes. Sleeping babies slump sideways and strain their airways in upright seats.
Age and Weight Benchmarks
Most pediatric experts recommend waiting until twelve months. Meanwhile, some manufacturers approve seats from nine months with strong head control. Always follow your pediatrician over any printed label.
Check the seat weight limit before every purchase. Typically, front seats support up to thirty-three pounds. Rear seats usually carry forty to forty-eight pounds.
Children outgrow seats by height as well as weight. In addition, watch for a head rising above the headrest. Move to another transport option before limits get exceeded.
Never carry newborns or young infants on a bicycle. Instead, wait until all readiness signs appear together. Patience now prevents serious injuries later.
Talk to Your Pediatrician
Bring up bike seats at your next well-child visit. Your pediatrician knows your child’s muscle tone and development. Their guidance outweighs any general chart.
Mention any prematurity, low muscle tone, or neck concerns. Additionally, ask about helmet weight for small babies. Some infants need extra time to build strength.
Ask for a simple readiness checklist to take home. Then review it again after a month. Professional reassurance builds your confidence for the first ride.
Understand Baby Bike Seat Types
Finding the best baby bike seats by age and bike type begins with honest measurements. Note your child’s weight and your bike’s frame style first. Then match those numbers to manufacturer size charts.
Handlebar-Mounted Seats
A handlebar-mounted seat sits between your arms near the handlebars. It keeps your child visible throughout the ride. In addition, it suits younger toddlers who crave interaction.
These seats usually support up to thirty-three pounds. However, the extra front weight affects steering noticeably. Practice steering in empty parking lots before real routes.
Check handlebar clearance carefully during setup. Meanwhile, ensure your hands and knees miss the seat while pedaling. Cramped cockpits create dangerous distractions on busy roads.
Many parents compare front vs rear baby bike seats before choosing their setup. Front seats shine for conversation and constant eye contact. Rear seats typically support heavier children and longer rides.
Front seats limit your view of the front wheel slightly. However, most parents adjust within one ride. Keep your gaze forward and trust your peripheral vision.
Frame-Mounted Seats
A frame-mounted seat attaches directly to the bicycle frame behind the saddle. It positions weight over the rear wheel for stable handling. Additionally, most models fit standard adult bikes easily.
Installation usually involves clamping a bracket around the seat tube. Consequently, you must verify tube diameter before purchase. An insecure clamp can rotate during rides and frighten your child.
Frame-mounted designs often include reclining backs and suspension. Moreover, these features absorb road vibration for sleeping toddlers. They cost more than basic models but add real comfort.
Some frame-mounted seats include adjustable suspension springs. These match the suspension to your child’s weight. Proper setup smooths bumpy neighborhood roads.
Rear Rack-Mounted Seats
Rack-mounted seats bolt onto a sturdy rear rack instead of the frame. They distribute your child’s weight across the rack platform. Furthermore, removal takes minutes when you ride solo.
Your bike needs a compatible rear rack with a sufficient load rating. Therefore, lightweight touring racks may not qualify for child seats. Always match the seat to a rack built for heavy loads.
These seats sit slightly higher than frame-mounted options. As a result, your center of gravity rises a bit more. Ride conservatively until you adapt to the handling.
Check that your rear rack uses four solid mounting points. Moreover, confirm the rack sits level under load. A tilted rack shifts weight uncomfortably.
Consider a Bike Trailer Too
Some families weigh a baby bike seat vs bike trailer before deciding. Trailers ride lower to the ground with enclosed cabins. Seats keep your child close and simplify storage.
Trailers shield kids from wind, rain, and road spray. However, they extend your length and complicate tight turns. Seats demand more balance but keep your footprint narrow.
Think about your usual routes when choosing. For example, busy streets favor the visibility of an upright seat. Quiet trails may suit a trailer with extra cargo space.
Trailers also work well for naps on long rides. Children can recline fully inside the cabin. Seats keep them upright but closer to you.
Look for These Safety Features
Five-Point Harness
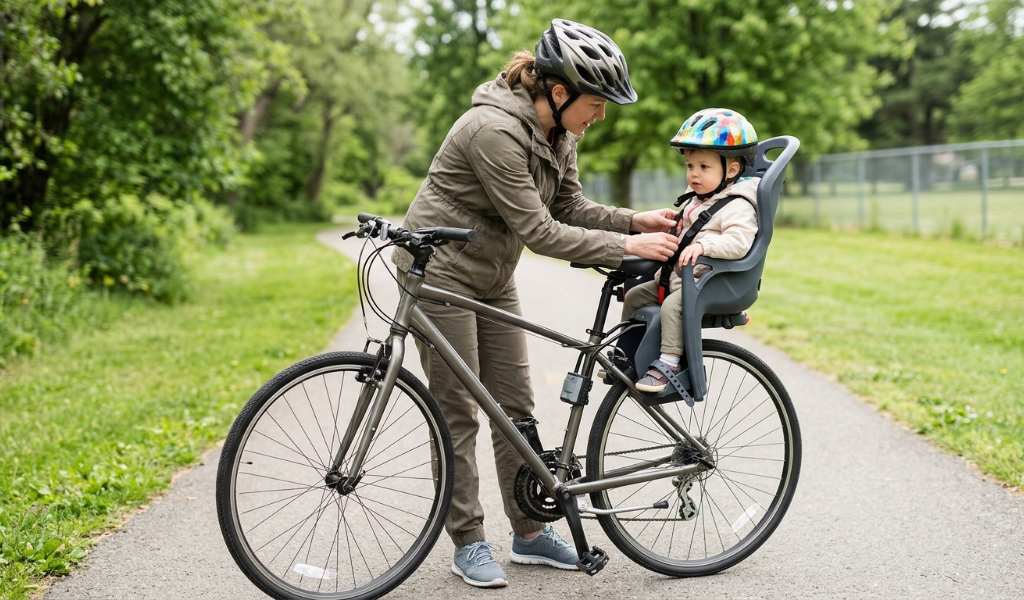
A 5-point harness secures shoulders, hips, and crotch with one buckle. It prevents your child from standing or leaning outward. Additionally, it keeps sleeping children upright during rides.
Adjust every strap so only one finger fits underneath. Meanwhile, recheck the fit monthly as your child grows. Loose harnesses allow dangerous movement during sudden stops.
Learning the steps for securing a child in a bike seat builds strong habits. Always buckle the harness before lifting your leg over the bike. Then tighten straps evenly on both shoulders.
Footrests and Spoke Guards
Adjustable footrests keep little feet away from spinning wheels. They should sit just below your child’s natural foot position. Moreover, straps on footrests stop feet from slipping outward.
A spoke guard shields fingers and toes from the rear wheel. Consequently, it prevents painful entrapment injuries during rides. Never use a rear seat without this guard.
Inspect footrests for cracks before every season. In addition, confirm that adjustment holes lock firmly in place. Replace worn straps immediately rather than postponing repairs.
Headrest and Padding
A tall headrest supports your child’s head during naps. It should cradle the helmet without pushing it forward. Furthermore, thick padding reduces vibration on rough pavement.
Look for removable, washable seat padding. Then cleaning becomes quick after messy snacks. Fresh padding also prevents skin irritation on warm days.
Safety Certifications
Trust seats tested to recognized safety standards. In the United States, look for CPSC compliance on the label. Many quality seats also meet ASTM design standards.
Certified seats undergo strength and stability testing. Therefore, they resist failures under rated loads. Avoid uncertified imports that skip these crucial tests.
Read the manual for the exact weight limit and age range. Additionally, follow every warning about incompatible bikes. Manufacturers test only the combinations they approve.
Reflectors and Visibility Aids
Bright colors help drivers spot your child seat quickly. Choose seats in vivid red, yellow, or orange. Then add reflective stickers to the seat back.
A small safety flag increases visibility in traffic. Additionally, spoke reflectors catch headlights at dusk. Layered visibility protects every ride.
Fit the Helmet Correctly
Your child needs a helmet on every single ride. Choose a lightweight toddler helmet with smooth edges. Then check that it carries proper safety certification.
A reliable guide to bike helmet fit for babies and toddlers makes sizing simple. Position the helmet level, about two finger widths above the eyebrows. Next, shape the side straps into a snug V under each ear.
Tighten the chin strap so one finger fits beneath it. Meanwhile, shake the helmet gently to test movement. It should not slide forward, backward, or sideways.
Replace helmets after any crash or hard drop. In addition, replace them when your child outgrows the size. Cracked foam loses its protective power permanently.
Never add hats or thick hoods under the helmet. Instead, choose thin warm layers in cold weather. Extra bulk shifts the helmet and weakens protection.
Double-check bike helmet fit for babies and toddlers before long rides. Growth spurts change sizing faster than parents expect. A quick check takes less than a minute.
Let your toddler choose between two approved helmet colors. Then they feel ownership over wearing it. Willing wearers fuss less during fitting.
Practice helmet wearing during indoor play first. Moreover, short sessions build tolerance gradually. Praise cooperation to reinforce the habit.
Install the Seat Properly
Check Bike Compatibility First
Start every purchase with a baby bike seat compatibility check. Measure your seat tube diameter and rear rack load rating. Then compare those numbers with the seat manual.
Some full-suspension bikes lack suitable mounting points. Additionally, carbon frames may not tolerate clamping forces. When in doubt, ask a local bike shop.
Electric bikes need extra attention for battery and cable clearance. Moreover, rear hub motors can interfere with rack mounts. Confirm clearances before ordering online.
Repeat the baby bike seat compatibility check after any bike upgrade. New frames or racks can invalidate earlier measurements. Five minutes of measuring prevents dangerous mismatches.
Follow the Manual Step by Step
Careful work while installing a baby bike seat prevents most mounting failures. Read the entire manual before touching any tools. Then lay out all parts and hardware.
Tighten every bolt to the specified torque value. Next, shake the mounted seat hard with both hands. It should not wobble, twist, or slide at all.
Recheck all fasteners after your first three rides. Additionally, vibrations can loosen new hardware quickly. Make this recheck a permanent habit.
Rushing while installing a baby bike seat causes most mounting errors. Set aside a full hour without distractions. Calm, careful work protects your child.
Ask a bike shop to verify your first installation. A professional second opinion costs little. Then you ride with full confidence.
Photograph your mounted setup from several angles. These photos help you spot shifts later. Compare them during monthly inspections.
Run Pre-Ride Safety Checks
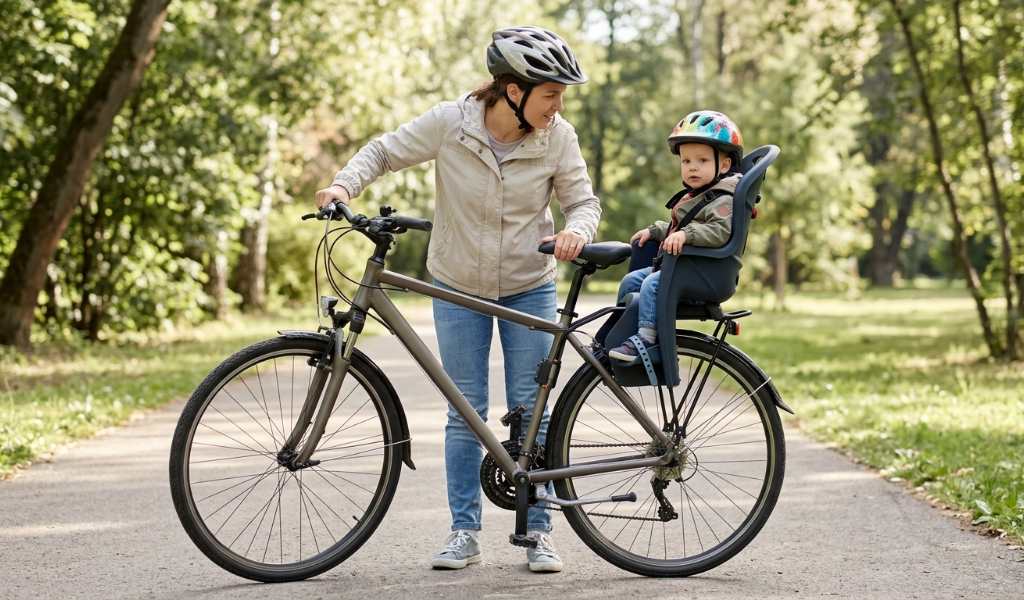
Build these checks into a two-minute routine. First, secure your child while the bike leans against a wall. Then complete the bike inspection before mounting.
Check Your Child
- Harness: buckle the 5-point harness and confirm a snug fit on shoulders.
- Helmet: position the helmet level and tighten the chin strap fully.
- Feet: place both feet on the footrests and fasten the foot straps.
- Clothing: tuck shoelaces and loose fabric away from the wheels.
- Mood: skip the ride if your child seems sick or overly tired.
Check Your Bike
- Seat mount: shake the seat firmly and confirm zero wobble or twisting.
- Brakes: squeeze both levers and verify strong, even stopping power.
- Tires: check pressure and inspect for cuts or worn tread.
- Spoke guard: confirm the guard fully covers the rear wheel.
- Lights: attach front and rear lights for low-light conditions.
Teach older toddlers to hold still during checks. Moreover, turn it into a fun countdown ritual. Consistent routines reduce forgotten steps dramatically.
Keep a laminated checklist in your bike bag. Then every caregiver follows the same steps. Grandparents and partners appreciate the clear reminder.
Time your routine until it feels automatic. Moreover, two focused minutes prevent most oversights. Rushing remains the enemy of safety.
Follow the Rules of the Road
Ride on the right side of the road with traffic. Additionally, obey every stop sign and traffic signal. Your child learns road habits by watching you.
Choose bike paths and quiet streets whenever possible. Meanwhile, avoid busy roads even when bike lanes exist. Extra distance on calm routes beats shortcuts through traffic.
Signal every turn clearly with your arm. Then make eye contact with drivers before crossing. Never assume a driver sees your child seat.
Slow down well before intersections and driveways. In addition, scan parked cars for opening doors. Children cannot brace themselves like adult riders.
Good habits for riding safely with a baby on board start with conservative speed. Keep a steady pace and brake early. Sudden moves startle children and shift weight dangerously.
Never ride at night without strong lights and reflectors. Moreover, wear bright clothing that drivers notice quickly. Visibility protects your whole family after sunset.
Skip rides in rain, ice, or high winds. Wet brakes respond slower and gusts push high loads. Instead, choose clear, calm days for family outings.
Ride single file and never wear headphones. Additionally, keep both hands ready near the brakes. Full attention belongs on the road ahead.
Review tips for riding safely with a baby on board before each season. Skills fade during winter breaks. A short refresher rebuilds safe habits fast.
Teach your toddler simple ride words like stop and slow. Then they understand sudden changes. Communication reduces startled reactions.
Avoid listening to music or taking calls while riding. Additionally, silence helps you hear approaching cars. Your ears protect your child too.
Handle the Extra Weight Confidently
A child passenger raises your center of gravity significantly. Consequently, the bike tips more easily at slow speeds. Keep momentum steady through every turn.
Your braking distance grows longer with added weight. Therefore, start braking much earlier than usual. Test your stopping distance in an empty lot first.
Mount the bike before loading your child when possible. Alternatively, lean the bike against a wall during loading. Never leave a loaded bike unattended on its kickstand.
Start with short rides on flat, familiar paths. Additionally, practice emergency stops without your child first. Confidence builds through repetition, not speed.
Shift your body weight forward on steep climbs. Meanwhile, keep your elbows relaxed over bumps. Smooth inputs keep your passenger comfortable and secure.
Dismount by leaning the bike toward your strong side. Then step through while holding the handlebars firm. Controlled dismounts prevent slow-speed falls.
Corner gently and avoid sharp lean angles. Moreover, child seats punish aggressive cornering. Smooth arcs keep everyone comfortable.
Pick a Bike That Carries a Child Safely
Not every bicycle handles a child seat equally well. A stable, upright bike gives you better control. Therefore, review your current bike before buying any seat.
Step-through frames simplify mounting with a child aboard. You can swing your leg low instead of high. Consequently, you avoid kicking the seat during mounting.
Wider tires add stability on varied surfaces. Additionally, they absorb small bumps that jolt young passengers. Consider tires at least thirty-five millimeters wide.
A sturdy double-leg kickstand keeps the loaded bike upright. Single-leg stands tip easily under child weight. Upgrade the stand before your first ride.
Low gearing helps you start smoothly with extra weight. Moreover, smooth starts prevent sudden lurches. Practice gear changes on gentle slopes first.
Electric bikes assist with hills but add complexity. In addition, check that the motor and battery sit clear of mounts. Keep speeds modest despite the extra power.
Avoid bikes with rear suspension pivots near mounting points. These designs complicate secure attachment. A rigid or hardtail frame usually works better.
Dress Your Child for Safe Rides
Proper clothing keeps your child comfortable and tangle-free. Dress them in snug layers without dangling strings. Then double-check that nothing reaches the wheels.
Closed-toe shoes protect feet on the footrests. Additionally, they prevent scrapes during loading and unloading. Avoid sandals, flip-flops, or bare feet entirely.
Tuck shoelaces inside shoes before every ride. Meanwhile, roll up long pant legs above the ankle. Loose fabric near spokes creates serious hazards.
Add a light jacket on cool mornings. However, skip bulky snowsuits that loosen the harness. The straps must sit close to the body.
Protect young skin from sun during midday rides. Moreover, a small helmet brim or sunglasses helps with glare. Sunscreen on exposed arms adds another layer.
Bring an extra layer for longer outings. Furthermore, weather can shift quickly near water. A compact windbreaker fits easily in your bag.
Adapt Your Riding to Conditions
Different conditions demand different riding strategies. Adjust your speed, route, and gear accordingly. Smart adaptation keeps every ride safe.
Wet roads double your stopping distance. Consequently, brake gently and much earlier. Avoid painted lines and metal covers that turn slippery.
Hills require careful gear selection and steady effort. Additionally, descend slowly with both brakes engaged evenly. Never coast fast downhill with a child aboard.
Wind gusts push high child seats sideways. Therefore, grip the handlebars firmly on exposed bridges. Reduce speed until gusts pass completely.
Group rides need extra spacing with a baby seat. Moreover, warn fellow riders before you slow down. Sudden braking surprises riders behind you.
Hot pavement and sun demand shorter rides. In addition, offer water breaks every twenty minutes. Overheating affects small children faster than adults.
Avoid These Common Mistakes
Some parents start riding before their baby sits independently. This mistake risks neck strain and poor posture. Wait for every readiness sign first.
Loose harnesses rank among the most frequent errors. Always tighten straps until only one finger fits. Recheck after snacks or wiggly rest stops.
Skipping the helmet happens on quick neighborhood trips. However, most accidents occur close to home. Strap the helmet on every single time.
Overloading beyond the weight limit stresses the mount dangerously. Track your child’s growth against the stated limit. Upgrade your setup before exceeding it.
Many riders forget how braking distance changes with a passenger. Practice stops in safe areas first. Then ride defensively on real roads.
Riding on busy streets with a baby seat invites unnecessary risk. Choose protected paths and quiet roads instead. Calm routes make better family memories.
Ignoring the baby bike seat vs bike trailer comparison limits your options. Compare both choices against your routes and storage space. The right option depends on your lifestyle.
Postponing maintenance lets small issues grow dangerous. Inspect straps, bolts, and padding monthly. Replace worn parts before they fail completely.
Some parents mount the bike before securing a child in a bike seat. Reverse that order to prevent tipping accidents. Buckle first, then climb aboard.
Skipping the front vs rear baby bike seats comparison leads to regret. Match seat style to your bike and child size. Thoughtful choices prevent costly replacements.
Parents who skip research on the best baby bike seats by age and bike type buy twice. Measure your child and bike first. Then buy the right seat once.
Forgetting to steady the bike during loading invites tipping. Always lean it against something solid. Unattended bikes fall easily.
Dressing children in bulky coats loosens harness straps. Remove puffy layers before buckling. Then add a blanket over the secured harness.
Riding too soon after rain creates slick hazards. Wait for roads to dry fully. Wet leaves and paint hide under tires.
Skipping practice rides wastes an easy confidence boost. Schedule three short practice outings first. Familiarity makes real rides relaxing.
Clean and Maintain the Seat
A simple routine for cleaning and maintaining a baby bike seat extends its lifespan. Wipe the shell monthly with mild soap and water. Then inspect straps and buckles for wear.
Store the seat indoors away from direct sunlight. In addition, UV exposure weakens plastic and fades padding. A garage corner works better than a sunny porch.
Tighten mounting bolts every few weeks during riding season. Moreover, check footrest adjustments as your child grows. Small tweaks prevent bigger problems later.
Replace any cracked shell or frayed strap immediately. Never ride with damaged safety components. Your child’s protection depends on intact equipment.
Parents who schedule cleaning and maintaining a baby bike seat catch damage early. Set a monthly reminder on your phone. Consistency keeps the seat safe for years.
Check the manual for replacement part availability. Then order spare straps before you need them. Waiting weeks for parts tempts unsafe shortcuts.
Log your inspections in a phone note. Moreover, records reveal wear patterns over time. Data-driven maintenance beats guesswork.
Know When to Move Beyond the Bike Seat
Children eventually outgrow every bike seat. Watch for weight, height, and behavior signals. Then plan the next step before limits arrive.
A head rising above the headrest means immediate change. Additionally, knees hitting your back signal cramped space. Do not squeeze in extra months.
Restless toddlers who fight the harness need new options. Moreover, unbuckling attempts create dangerous distractions. Consider a trailer with more room.
Trailer bikes attach to your seat post for older kids. They let children pedal while you steer. Consequently, they bridge the gap to independent riding.
Balance bikes teach steering and balance from age two. Furthermore, they build skills for pedal bikes later. Many children transition smoothly through this stage.
Celebrate the graduation from the baby seat. Then donate or store the seat properly. Your careful use gives it a second life.
Respond to Tip-Overs and Emergencies
Even careful parents experience tip-overs. Stay calm and assess your child first. Then check yourself for injuries.
Keep the harness buckled until the bike rests stable. Additionally, this prevents a startled child from crawling into traffic. Unbuckle only when everything feels secure.
Comfort your child before inspecting equipment. Moreover, tears often come from fright rather than injury. A calm voice settles both of you quickly.
Inspect the seat mount and helmet after any fall. Consequently, replace the helmet if it struck the ground. Hidden foam damage weakens future protection.
Carry a small first aid kit on every ride. Furthermore, include bandages, antiseptic wipes, and your phone. Quick access to supplies reduces panic.
Practice controlled dismounts in a grassy area. Then muscle memory takes over during real surprises. Preparation turns panic into procedure.
Teach Your Child Passenger Habits
Even toddlers can learn simple passenger rules. First, teach them to keep hands and feet inside the seat. Then praise them warmly for sitting still.
Use short phrases your child already understands. For example, say hands in before every ride. Consistent cues build reliable habits quickly.
Explain that wiggling makes the bike tippy. Additionally, demonstrate gentle sitting during indoor practice. Children cooperate more when they understand why.
Bring a small toy for longer rides. Moreover, familiar toys reduce restlessness significantly. Boredom causes most mid-ride squirming.
Sing songs together during calm stretches. Furthermore, singing keeps your child happy and still. Music transforms routine rides into adventures.
End every ride with specific praise. For instance, thank them for keeping feet on the footrests. Positive endings encourage cooperation next time.
Never scold harshly for normal toddler movement. Instead, stop safely and reset calmly. Patience teaches better than frustration.
Plan Family-Friendly Routes
Great rides start with thoughtful route planning. First, scout paths without your child aboard. Then note hazards, hills, and rest spots.
Favor dedicated bike paths over shared roads. Additionally, parks with loop trails work perfectly. Loops let you shorten rides easily.
Identify shaded rest stops every fifteen minutes. Moreover, water and snacks revive tired toddlers. Planned breaks prevent meltdowns.
Avoid routes with steep hills until you feel confident. Furthermore, long climbs exhaust you with extra weight. Flat riverside paths suit beginners best.
Check the weather forecast before leaving home. Then pack rain covers just in case. Sudden showers catch unprepared parents off guard.
Share your route with another adult. In addition, carry your phone fully charged. Someone should know where you ride.
Gradually extend distances as fitness improves. Consequently, ten-mile outings become comfortable over time. Slow progress builds lasting family traditions.
Ride With a Partner or Group Safely
Riding with another adult adds safety and fun. First, agree on hand signals before departure. Then ride single file with generous spacing.
The stronger rider should take the lead. Additionally, the leader warns about hazards ahead. Clear communication prevents sudden surprises.
Keep children within sight at all times. Moreover, assign one adult per child. Divided attention keeps everyone safer.
Plan regroup points along the route. Furthermore, count riders at every stop. Headcounts catch problems early.
Carry a basic repair kit between you. In addition, share the load of snacks and water. Teamwork lightens every burden.
Match the pace to the slowest rider. Consequently, nobody feels pressured to rush. Relaxed groups enjoy safer rides.
Debrief after group outings together. Finally, note what worked and what did not. Continuous improvement builds safer traditions.
Invite experienced cycling parents along initially. Ultimately, their tips accelerate your learning. Mentors shorten the beginner phase dramatically.
Frequently Asked Questions
How Old Should a Baby Be Before Using a Bike Seat?
Wait until your baby sits independently without support and holds a helmet steady, usually around twelve months.
Do Babies Need Helmets in Bike Seats?
Yes, always secure a properly fitted helmet before every ride, even on short neighborhood trips.
Can I Install a Bike Seat on Any Bicycle?
No, verify frame and rack compatibility first because some bikes cannot safely carry a child seat.
What Is the Weight Limit for Most Baby Bike Seats?
Front-mounted seats typically hold up to thirty-three pounds while rear seats often support forty to forty-eight pounds.
Is a Bike Trailer Safer Than a Bike Seat?
Both options protect children well when used correctly, yet trailers sit lower and add weather coverage.
Conclusion
Safe family rides begin with preparation and end with wonderful memories. Review readiness, features, fit, installation, and road rules before each season. Your careful habits protect your most precious passenger.
Start today by inspecting your current setup against this guide. Then plan a short practice ride on a quiet path. Share this guide with every caregiver who rides with your child.