
Not every bike accepts a baby bike seat. Before buying, check frame type, tube size, rack mounts, brake clearance, and wheel size. These five checks confirm a secure, wobble-free installation.
Compatibility is the leading cause of returns and poor fit. However, most mismatches are easy to prevent at home. Take a tape measure and five spare minutes to judge whether your bike works.
This guide walks you through each checkpoint step by step. It also flags the red flags most buyers overlook. Follow each step, and you will shop with confidence.
Check Frame Type and Geometry
First, inspect your bike’s frame shape and construction material. Typically, frame-mounted seats need a rigid diamond or step-through frame. By contrast, full-suspension bikes usually lack a stable mounting point. Carbon frames also raise concerns, since clamps can crush the tubing.
Examine the seat cluster and saddle position next. The mounting bracket needs several inches of clear tube below the saddle. If your saddle sits very low, the clamp may not fit. Also, unusual bends near the clamp zone can prevent a solid grip.
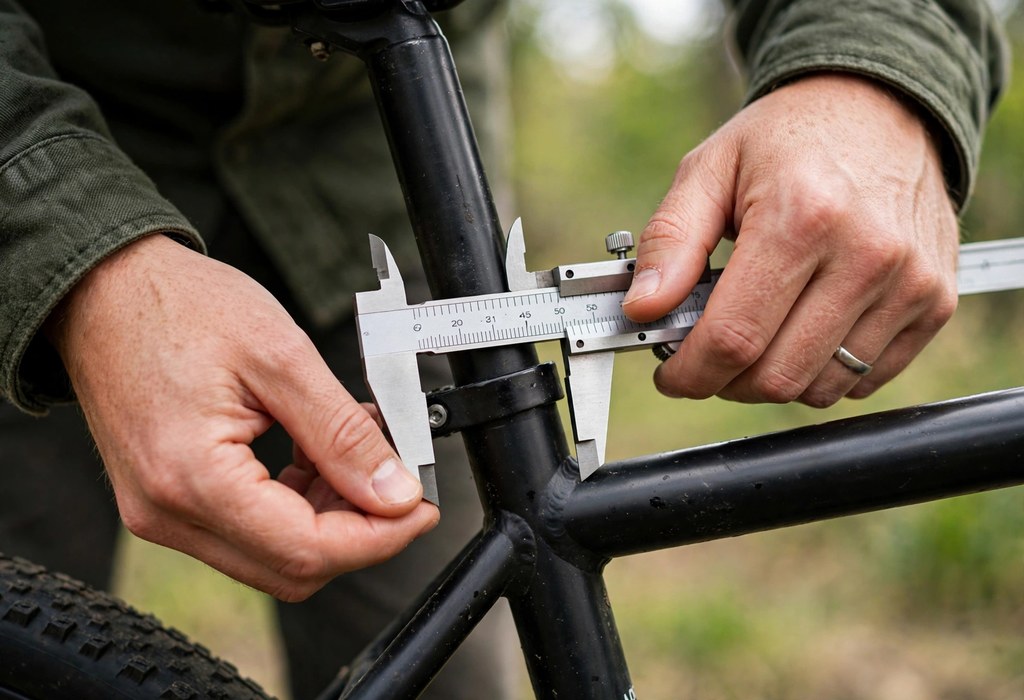
Measure Seat Tube Diameter and Clamp Space
Grab a caliper or a flexible tape measure for this step. Most clamps accept round tubes between 28 and 40 millimeters. Then compare your measurement with the range printed on the seat packaging.
Diameter alone does not guarantee a fit, though. You also need four to six inches of unobstructed tube. Relocate bottle cages or accessories that crowd the clamp area. As a rule, cables routed along the tube often block the bracket entirely.
Confirm Rack Mounts and Rear Rack Capacity
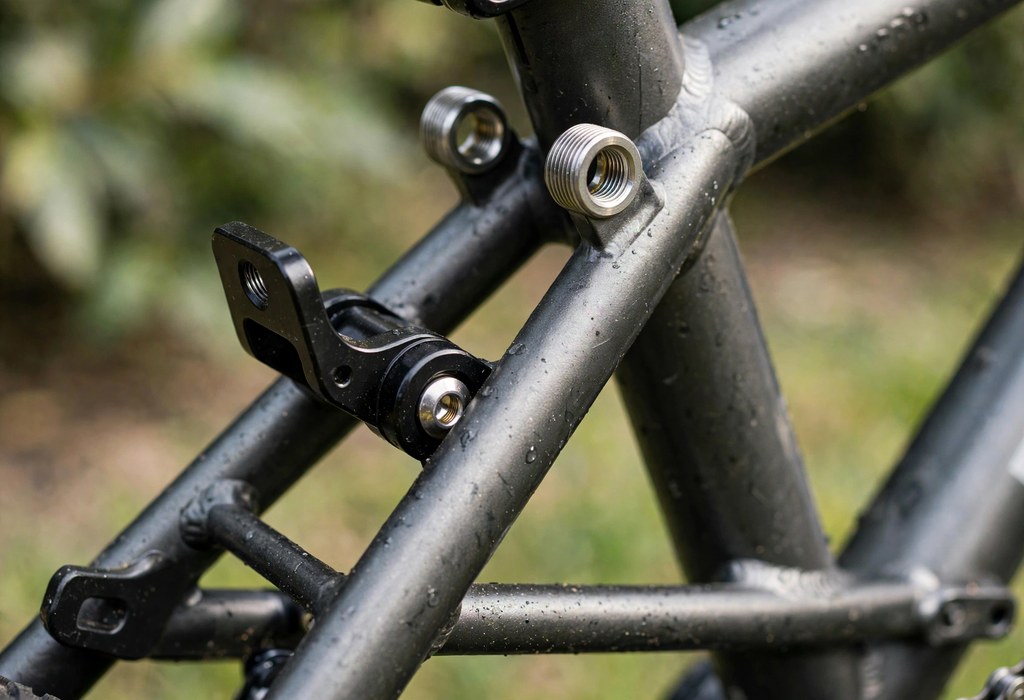
Some baby bike seat models bolt to a rear rack instead. Rack-mounted designs require threaded eyelets near the rear axle and seat stays. Spot them by looking for small holes at both dropout and stay tops.
Equally, capacity matters as much as the mounting points. Find the stamped weight limit on the rack or in its manual. Select a rack rated well above your child’s current weight. Otherwise, the rack may flex, crack, or loosen over time.
Verify Brake Type Clearance
Disc brakes create clearance problems for certain rear-mounted designs. Support struts can rub against the caliper or rotor during turns. Test-fit all hardware before riding with your child aboard.
Rim brakes cause fewer conflicts but still deserve a check. Squeeze each lever and watch the pads and arms move. Confirm that nothing touches the bracket at full travel. Check pad wear too, since extra weight lengthens stopping distance.
Inspect Cable Routing and Accessories
Cables and accessories often hide right where the clamp must sit. Scan the seat tube for brake lines, shifter cables, and zip ties. Even a single cable can prevent the bracket from seating flush.
When possible, move the clamp zone above or below the obstruction. Choose a rack-mounted design that avoids the tube entirely instead. In addition, remove clip-on fenders or lights that crowd the mounting area.
Account for Wheel Size and Rider Space
Similarly, wheel size affects both mount fit and pedaling comfort. Smaller wheels pull the seat closer to your legs. Consequently, your knees may strike the seat while pedaling.
Install the seat, then pedal slowly in a safe area. Next, verify that your heels clear the footrests at every angle. Mounting the seat rearward also shifts the center of gravity. Therefore, practice starts and stops before heading into traffic.
Match the Seat to Your Riding Position
Indeed, your riding position changes how the seat feels on the road. To illustrate, upright city bikes leave generous space between saddle and handlebar. Aggressive road positions crowd that space and reduce knee clearance.
Moreover, a shorter stem or swept-back bars can open up room. Avoid major cockpit changes just to force a poor fit, though. Lastly, pick the seat style that suits your natural riding posture.
Special Checks for E-Bikes
For e-bikes, batteries, cables, and heavier frames complicate the picture. Batteries mounted behind the seat tube can block the clamp. Meanwhile, integrated downtube batteries may widen tubes beyond clamp range. Step-through e-bike frames often place batteries where clamps need to go.
Trace motor and controller cables around the mounting area. Additionally, e-bikes weigh more, so recheck the total weight limit. So add rider, child, seat, and cargo together before riding. Extra mass raises the center of gravity, so ride conservatively at first.
Run the Final Compatibility Checklist
Work through this quick list before you spend money:
- Frame type: confirm a rigid frame with enough clear tube below the saddle.
- Tube size: verify your seat tube diameter matches the clamp range.
- Rack mounts: check for threaded eyelets if you choose a rack-mounted seat.
- Brake clearance: ensure struts and brackets clear calipers, rotors, and arms.
- Wheel size: confirm your knees and heels clear the seat while pedaling.
- Weight limit: total rider, child, seat, and cargo stay within ratings.
Frequently Asked Questions
Can you put a baby bike seat on any bike?
No bike is guaranteed, since frame shape, tube diameter, and mounting points all decide the outcome.
What seat tube diameter fits most baby bike seats?
Typical clamps fit round tubes from 28 to 40 millimeters, so measure yours before buying.
Do you need a rear rack for a baby bike seat?
Only rack-mounted models need one, and your frame must have threaded eyelets for mounting.
Is an e-bike compatible with a baby bike seat?
Yes, provided the battery position and tube diameter allow a secure, interference-free installation.
Will a baby bike seat fit a bike with disc brakes?
Sometimes, but mounting hardware can interfere with the caliper or rotor, so test clearance first.
Conclusion
Run through all five checks before you spend money. Matching parts keep every ride stable and predictable. Still, when in doubt, ask a bike shop to confirm the fit.
Ready to choose the right setup for your family? Start with our detailed baby bike seat safety guidelines before your first ride. After that, follow the walkthrough on installing a baby bike seat for a secure, rattle-free setup. Finally, compare models in of the best baby bike seats by age and bike type.