
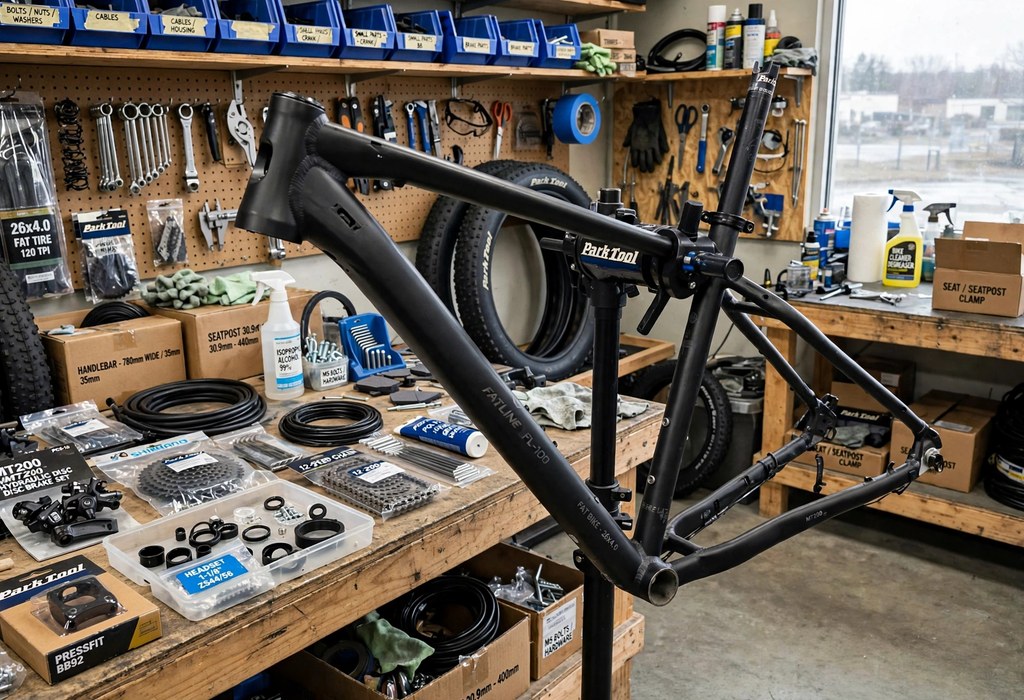
You build a fat tire bike by installing compatible parts onto a bare fat frame. First, you fit the headset, fork, bottom bracket, crankset, wheels, brakes, and drivetrain in sequence. Finally, you torque every bolt and check tire and crank clearance before riding. Additionally, you need only basic tools and careful checks throughout.
Additionally, fat builds demand wider standards than standard mountain bike builds demand. For example, rear hub spacing reaches 170, 190, or 197 mm. Therefore, careful parts matching prevents costly ordering mistakes and frustrating rebuild work later. Meanwhile, this guide covers only parts selection, assembly steps, and final safety checks.
Complete Parts List for a Fat Bike Build
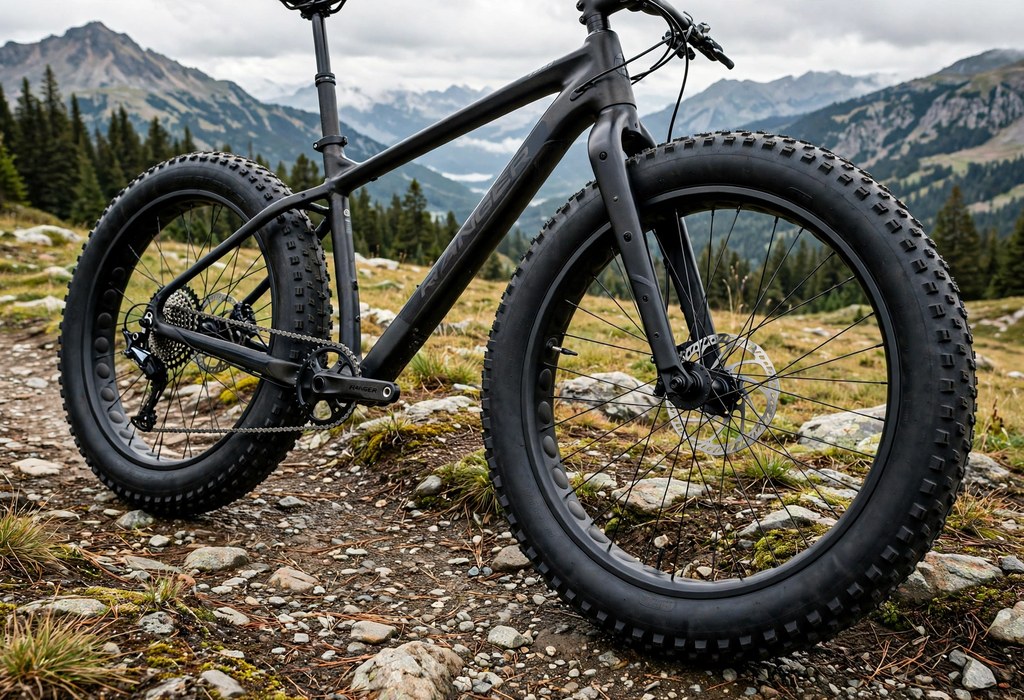
First, gather every part before you touch the bare frame. Additionally, a complete fat tire bike guide helps you confirm each category quickly. Then, lay parts on a clean bench in assembly order.
However, fat-specific parts differ greatly from standard bike parts. For example, builders need wider hubs, cranks, and bottom brackets. Therefore, order fat-specific parts for every major system here.
Frame, Fork, and Cockpit Parts
- Fat bike frame: Choose a frame with generous tire clearance.
- Rigid or suspension fork: Match the fork to your head tube.
- Headset and stem: Press headset cups and fit the stem.
- Handlebar and grips: Pick a wide bar for steady control.
- Seatpost and saddle: Match seatpost diameter to the frame exactly.
Drivetrain, Brake, and Wheel Parts
- Bottom bracket and crankset: Use a wide bottom bracket and fat-specific crankset.
- Wheels and hubs: Select hubs matching your frame spacing exactly.
- Rims and tires: Pair 50 to 100 mm rims with 3.8 to 5.2 inch tires.
- Cassette and chain: Match cassette range and chain length carefully.
- Derailleur and shifter: Choose one matched drivetrain speed throughout.
- Disc brakes and rotors: Fit hydraulic or mechanical disc brakes.
Additionally, gather hex keys, cable cutters, grease, and a torque wrench. Also, keep a bike stand, chain tool, and tubeless supplies nearby. Then, keep the thru-axle and quick release hardware with each wheel.
Tools and Workshop Supplies
- Torque wrench and hex keys: Torque bolts accurately without damaging threads.
- Bike stand and workbench: Hold the frame steady during assembly.
- Chain tool and cable cutters: Size the chain and trim cables cleanly.
- Grease and threadlocker: Protect threads and prevent unwanted loosening later.
Check Compatibility Before You Assemble Anything
However, wide parts create compatibility traps for first-time builders. For example, our fat tire bike sizing guide confirms frame fit before parts ordering. Therefore, measure hub spacing, bottom bracket width, and axle standards first.
Additionally, check crank clearance against the chainstays before tightening anything. Next, spin the rear tire and confirm sidewall clearance everywhere. Finally, verify chainline clears the tire under every gear combination.
Meanwhile, confirm rotor size and brake mount standards match. Also, confirm the headset standard matches your fork steerer. Therefore, one careful measurement session prevents most build delays.
Step-by-Step: Build a Fat Tire Bike in Sequence
First, mount the frame securely in a bike stand. Then, work from the frame outward toward finishing parts. Meanwhile, keep fasteners finger-tight until each alignment check passes.
Additionally, follow the frame maker torque values throughout assembly. However, overtightening damages threads and lightweight parts very quickly. Therefore, tighten gradually and recheck each fastener twice.
Install the Bottom Bracket, Headset, and Fork on a Fat Tire Bike
First, grease the bottom bracket threads and thread each cup carefully. Next, install the crankset and check crank arm clearance immediately. Then, press the headset cups and slide the fork upward. Finally, fit spacers, the stem, and the handlebar loosely.
Additionally, tighten each bottom bracket cup to specification with care. Next, preload the headset bearings and eliminate fork play completely. Then, center the handlebar and align it with the fork.
Build the Wheels and Fit the Drivetrain
First, fit rim tape, valves, tires, and sealant for tubeless setup. Next, seat each tire bead evenly around the rim. Then, install the cassette, rotors, and both complete wheels. Additionally, mount the derailleur, size the chain, and connect the shifter.
Additionally, check derailleur limits before you ride anywhere. Next, adjust cable tension until shifts feel crisp everywhere. Finally, confirm the chain reaches every cog without strain.
Add Brakes, Cockpit, and Finishing Parts
First, bolt both brake calipers over the rotors carefully. Next, route cables and hoses along the frame guides. Then, install brake levers, the shifter, grips, and pedals. Finally, fit the seatpost, saddle, and any small accessories.
However, brake pads often rub during initial setup attempts. Therefore, center each caliper and spin each wheel freely. Also, bed the pads with several controlled stops outside.
Build Strong Wheels and Fit Wide Tires
First, choose rims between 50 and 100 mm wide. Additionally, wide rims support wide tires and improve stability greatly. Then, lace spokes evenly or buy complete prebuilt wheels.
Next, mount tires measuring 3.8 to 5.2 inches wide. For example, wider tires float across sand and snow surfaces. Finally, inflate tires gradually and seat both beads fully.
Final Checks Before You Ride a Fat Tire Bike
However, rushed final checks undo careful assembly work quickly. Therefore, torque every bolt to the maker specification exactly. Additionally, follow a simple fat tire bike maintenance routine after shakedown rides.
First, squeeze both brake levers and confirm firm stopping power. Next, shift through every gear and listen for rubbing. Then, bounce the bike and check for loose parts. Finally, recheck tire clearance, crank clearance, and axle tightness.
Meanwhile, pack basic tools before your first trail ride. Also, carry a spare tube and a mini pump. Finally, recheck every axle after your first short ride.
Frequently Asked Questions
What parts do I need to build a fat tire bike?
You need a frame, fork, wheels, drivetrain, brakes, and cockpit parts.
Can I put fat tires on a regular bike frame?
However, regular frames lack clearance and wide hub spacing.
How long does it take to build a fat tire bike?
Most builders finish assembly within one focused weekend session.
Do fat bikes use special bottom brackets and cranks?
Yes, fat bikes use wide bottom brackets and matching cranksets.
Should I set up fat bike tires tubeless?
Additionally, tubeless setup reduces weight and seals small punctures well.
Conclusion
Finally, a methodical build turns a bare frame into a capable bike. Therefore, order compatible parts, follow the sequence, and torque everything carefully. Start your build today and assemble your own fat bike confidently.
Additionally, share your finished build photos with fellow builders online. Then, plan your first ride and enjoy your work.
You may also like
-
How to Choose a Fat Tire Bike for Commuting, Recreation, and Off-Road Riding
-
Fat Tire Bike Speed: What Affects Riding Speed and Performance?
-
Electric Fat Tire Bikes: How They Work, Key Features, and Benefits
-
How to Ride a Fat Tire Bike on Snow and Sand: Beginner Techniques
-
Fat Tire Bike Maintenance: A Seasonal Care and Repair Guide