
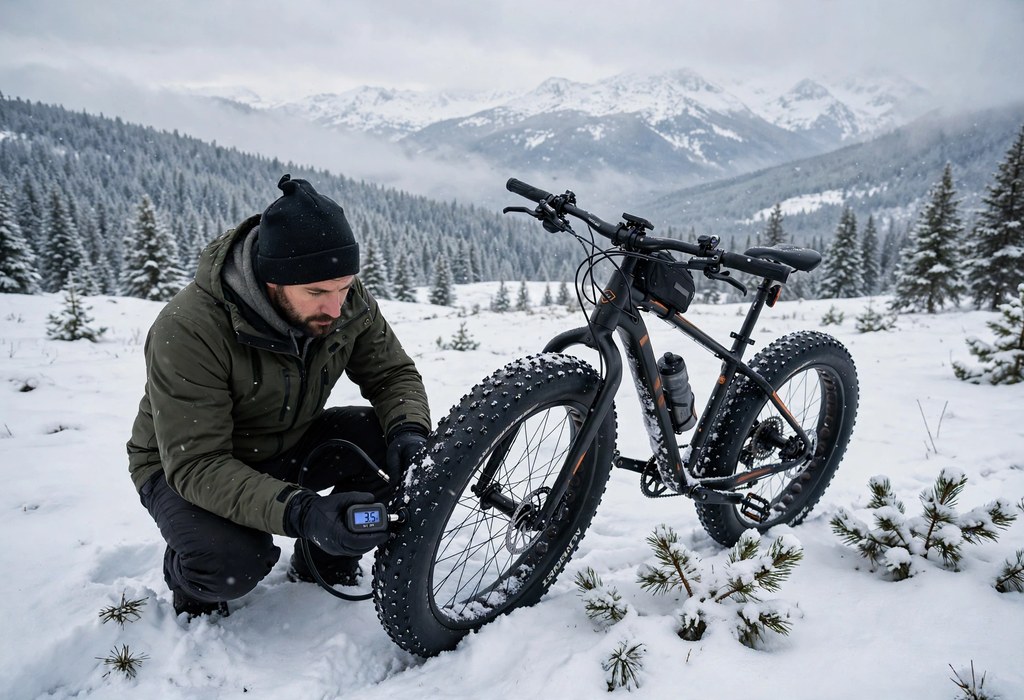
Set fat tire bike pressure near two to five PSI on soft snow for maximum flotation. Additionally, set sand pressure near four to eight PSI for steady grip. Finally, set hardpack and trail pressure near eight to fifteen PSI.
However, your ideal pressure always depends on surface softness and total load. Therefore, start inside the range and test before you adjust further. For example, small half PSI changes alter feel dramatically at low pressures.
Additionally, a low pressure gauge gives you repeatable and accurate readings. Meanwhile, careful testing protects your rims and prevents frustrating pinch flats.
Why Fat Tire Bike Pressure Controls Flotation and Grip
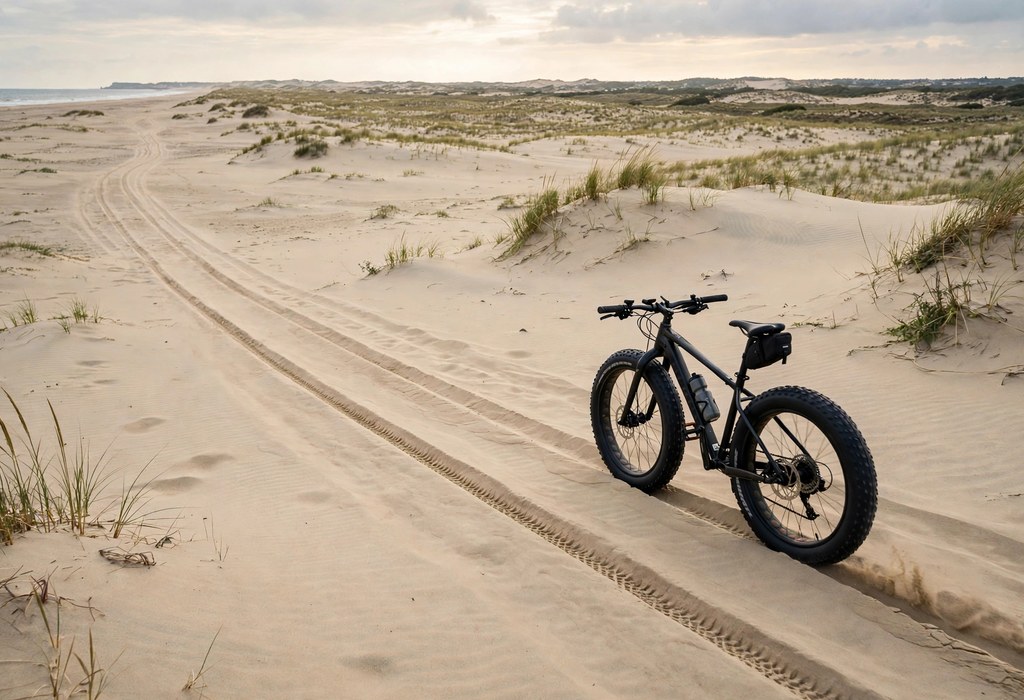
Lower pressure widens the contact patch and spreads your weight widely. Therefore, the tire floats instead of digging into soft surfaces. For example, a wide footprint improves traction on loose snow.
However, higher pressure shrinks the footprint and speeds rolling on firm ground. Additionally, this fat tire bike guide explains how wide tires support low pressures safely. Meanwhile, excessive pressure reduces grip and increases bouncing over rough surfaces.
Fat Tire Bike Pressure Starting Points by Surface
Start every surface change with a known baseline pressure reading. Additionally, record both front and rear pressures after each test. Therefore, you can repeat successful settings on similar surfaces later.
- Soft snow: Start near two to five PSI for flotation.
- Loose sand: Start near four to eight PSI for grip.
- Firm hardpack: Start near eight to twelve PSI for support.
- Rocky trails: Start near ten to fifteen PSI for protection.
Snow: Prioritize Flotation First
Soft snow rewards the lowest pressures in this entire guide. For example, deep snow often needs pressure near two PSI. However, packed snow usually supports pressure near five PSI comfortably.
Drop pressure gradually when the tire cuts a deep rut. Additionally, stop dropping pressure when the sidewall folds during turns. Therefore, you protect steering control while you preserve essential flotation.
Sand: Balance Float and Steering
Loose sand needs low pressure but still demands steering precision. For example, dry sand often feels best near five PSI. Meanwhile, wet sand supports slightly higher pressure without sinking quickly.
Additionally, lower pressure slowly when the front tire plows straight. For example, learning to ride a fat tire bike on snow and sand clarifies pressure needs. However, raise pressure slightly when the tire squirms during turns.
Hardpack and Trails: Add Support
Firm trails need higher pressure for support and rim protection. Therefore, start near ten PSI and adjust from that baseline. Additionally, rocky trails often need pressure near fifteen PSI maximum.
However, excessive trail pressure makes the tire bounce off roots. For example, bouncing reduces traction and tires you out quickly. Meanwhile, insufficient pressure invites rim strikes on sharp trail edges.
How to Choose and Test Fat Tire Bike Pressure
First, inflate both tires to the middle of the range. Next, ride a short loop on the target surface. Finally, change pressure by half PSI and repeat the loop.
Additionally, test front and rear tires separately during each loop. For example, the rear tire usually carries more total weight. Therefore, the rear tire often needs slightly higher pressure.
Watch the track the tire leaves on soft surfaces closely. However, a deep rut signals pressure remains too high still. Meanwhile, a wide smooth track signals good flotation and grip.
Additionally, listen carefully for rim contact during every test loop. Therefore, add pressure immediately when you hear any rim strike. For example, even one strike warns you about rim damage.
How to Use a Low-Pressure Gauge Correctly
Standard pump gauges often read low pressures very inaccurately indeed. Therefore, use a dedicated low pressure gauge for fat tires. Additionally, the gauge shows small changes that fingers cannot detect.
First, press the gauge firmly onto the valve stem. Next, hold it steady until the reading settles completely. Finally, record the reading before you adjust any air.
However, temperature changes shift pressure readings between indoor and outdoor checks. For example, cold air lowers pressure after you move outside. Meanwhile, warm air raises pressure slightly during long sunny rides.
Additionally, check pressure again after ten minutes outside in cold. Therefore, you set pressure for real riding conditions every time. For example, consistent checks prevent surprise handling changes mid ride.
How to Adjust for Weight, Cargo, and Setup
Heavier riders need slightly more pressure on every surface type. Additionally, cargo adds load and demands slightly more pressure too. Therefore, add pressure in small half PSI steps only.
However, lighter riders can often use the lower range end. For example, lighter riders gain flotation without extra sidewall folding. Meanwhile, wider tires support lower pressure than narrower tires do.
Tubeless setups tolerate lower pressure without classic pinch flat risk. Additionally, tubeless sealant seals small punctures during rides automatically. However, tubeless tires still suffer rim strikes when pressure drops.
Riders using tubes need extra caution at very low pressures. Therefore, tubes pinch easily between rim and obstacle under load. For example, a sharp rock can pinch the tube instantly. Finally, compare your setup honestly using a fat tire bike vs mountain bike comparison before rides.
Fat Tire Bike Pressure Risks: Pinch Flats and Rim Strikes
Low pressure improves flotation but creates three clear risks. Additionally, each risk gives you a clear warning sign early. Therefore, watch for these signs during every pressure test.
- Pinch flat risk: Add pressure when tubes pinch against the rim.
- Rim strike risk: Add pressure when rims hit rocks or roots.
- Tire squirm risk: Add pressure when sidewalls fold in turns.
- Burping risk: Add pressure when tubeless beads lose air suddenly.
However, high pressure creates different problems on soft surfaces. For example, hard tires dig trenches and lose forward momentum. Meanwhile, hard tires also bounce and reduce braking control significantly.
Additionally, check the sidewall after any hard rim strike immediately. Therefore, you catch cuts and bead damage before riding further. Finally, inspect the rim edge for dents after strikes too.
Frequently Asked Questions
What PSI should fat tires use in snow?
Use roughly two to five PSI and adjust by snow softness.
What PSI works best for fat tires on sand?
Use roughly four to eight PSI and adjust by sand firmness.
How low can you go without a pinch flat?
Tubeless setups go lower safely, but rim strikes still set limits.
Do heavier riders need more fat tire pressure?
Yes, heavier riders and cargo need slightly more pressure always.
Why do fat bikes need a low pressure gauge?
One PSI changes handling greatly, so standard gauges miss important differences.
Conclusion
Correct pressure turns wide tires into true flotation and grip. Additionally, small careful adjustments protect your rims and tubes. Therefore, test methodically instead of guessing before every ride.
Start with the ranges above and grab your gauge now. Additionally, ride a short test loop and adjust today. Finally, record your best pressures and enjoy confident traction everywhere.
You may also like
-
How to Choose a Fat Tire Bike for Commuting, Recreation, and Off-Road Riding
-
Fat Tire Bike Speed: What Affects Riding Speed and Performance?
-
Electric Fat Tire Bikes: How They Work, Key Features, and Benefits
-
How to Ride a Fat Tire Bike on Snow and Sand: Beginner Techniques
-
Fat Tire Bike Maintenance: A Seasonal Care and Repair Guide