
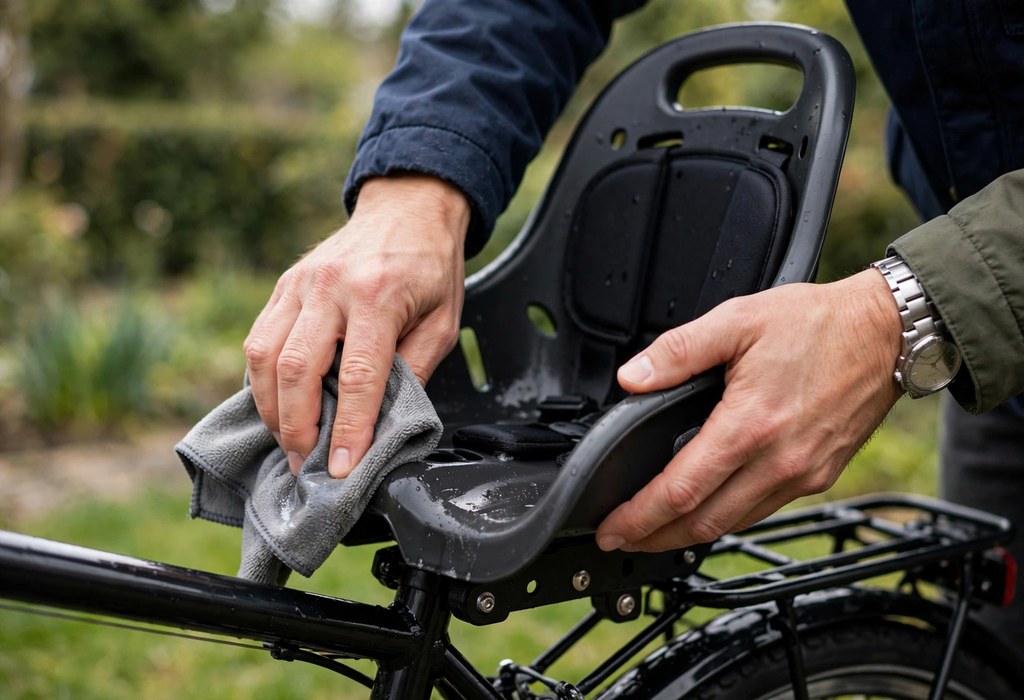
Clean a baby bike seat by washing removable covers with mild soap and cold water. Wipe the shell, buckle, and harness straps with a damp cloth regularly. Check bolts, brackets, and straps monthly to catch wear early.
A baby bike seat handles snacks, spills, rain, and road dust. Therefore, a regular cleaning routine keeps fabric fresh and hardware safe. Also, consistent maintenance protects your child on every ride.
Meanwhile, UV exposure and vibration wear parts down quietly. Thus, this guide covers cleaning, inspecting, and storing your seat. Finally, you will learn a simple routine that fits real family life.
Fortunately, each task takes only a few minutes. Moreover, simple tools like mild soap and soft cloths handle most jobs. Overall, a little effort prevents bigger problems later.
Cleaning Fabric, Padding, and the Shell
Begin by removing the fabric covers from the seat shell. Next, vacuum crumbs and grit from every seam and crease. Afterward, wash the covers in cold water with mild detergent.
Most covers air-dry best in the shade, because direct sun fades fabric. Avoid dryers since heat warps padding and foam.
Removing and Washing Removable Covers
- Removal: unclip plastic connectors or Velcro tabs and lift the cover free.
- Detergent: use mild, fragrance-free soap and never add bleach or solvents.
- Cycle: choose cold, gentle settings whenever covers go in the washer.
If covers stay damp, mildew can grow inside the padding. So confirm every layer feels completely dry before refitting.
Wiping Down the Shell Between Washes
During the riding season, wipe the shell weekly with a damp microfiber cloth. Then dry it thoroughly to prevent water spots and streaks.
- Soap: add one drop of mild dish soap for sticky residue.
- Crevices: work a soft brush into corners and mounting slots.
- Rinse: wipe again with a clean, damp cloth.
Spot-Cleaning Padding and Stains
Between deep cleans, press a damp cloth against soiled padding. Dab stubborn spots with a paste of baking soda and water. Follow with a clean rinse cloth and full air-drying.
- Mold: scrub light mildew with diluted white vinegar, then rinse well.
- Odor: sprinkle baking soda, wait twenty minutes, and vacuum it off.
- Grease: lift oily marks with a tiny amount of dish soap.
Cleaning Harness Straps and the Buckle
Straps collect sweat, food, and sticky spills every ride. However, harsh cleaners can weaken the fibers over time. Instead, wipe the webbing with warm water and mild baby soap.
Use a second damp cloth to rinse away soap residue. Let the straps air-dry fully before the next ride. For correct tension checks, review our baby bike seat safety guidelines regularly.
Cleaning the Buckle Safely
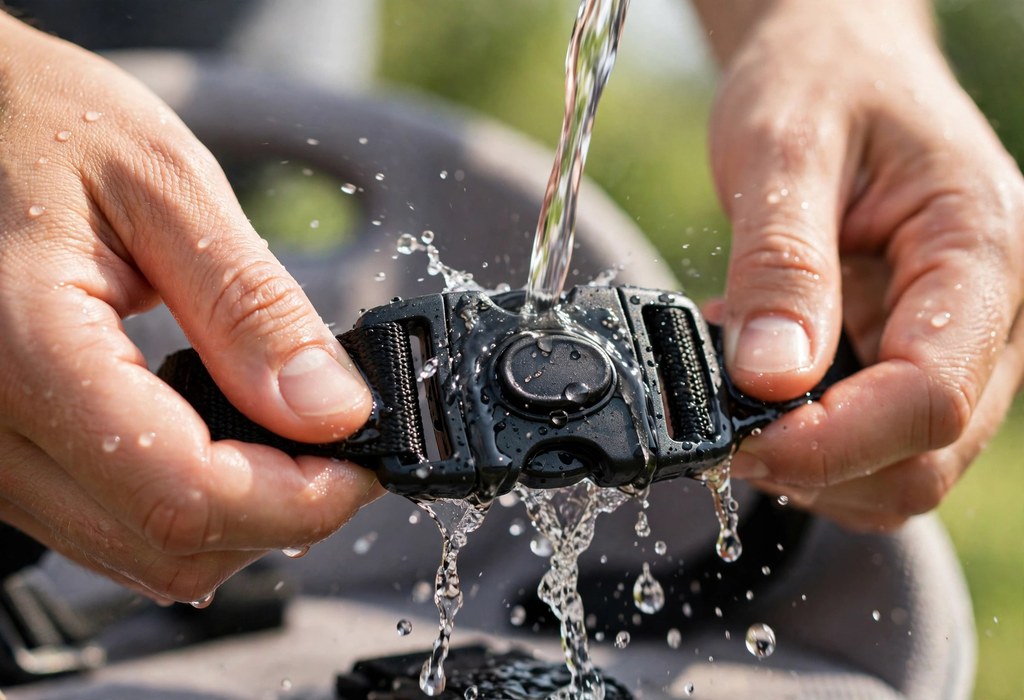
Soak a soft brush in warm soapy water and scrub the buckle. While cleaning, click the buckle several times to clear crumbs. Never oil or lubricate the locking mechanism.
After rinsing, shake off excess water from the buckle. Before reassembly, confirm the buckle clicks firmly and releases smoothly.
Checking Bolts, Brackets, and the Mounting System
Vibration slowly loosens bolts and mounting brackets. Consequently, check every fastener monthly with the correct Allen key. Pull the seat firmly side to side to test for play.
Tighten each bolt to the torque value in your owner’s manual. Inspect the bracket for hairline cracks, rust, and bent plates. Should anything feel loose afterward, revisit our guide on installing a baby bike seat.
What to Check Each Month
- Fasteners: confirm bolt torque matches the manual’s specification.
- Bracket: look for cracks where metal meets the bike frame.
- Slots: clear dirt from rail slots so the seat locks fully.
- Reflectors: replace cracked or missing reflectors promptly.
Keep a small notebook or phone note with check dates. Since issues build gradually, written records reveal slow loosening.
Inspecting for Wear Before It Becomes Unsafe
Catch small problems before they turn into safety risks. First, flex the shell gently and look for cracks near stress points. Run your fingers along the webbing to feel fraying.
Replace padding that has flattened and no longer supports your child. Likewise, retire straps that feel stiff, thin, or brittle. Still, compare the best baby bike seats by age and bike type when wear keeps returning.
Common Wear Signs to Watch
- Shell: sun-faded plastic with fine surface cracks.
- Webbing: shiny, thinning, or frayed edges on straps.
- Buckle: sluggish latching or a loose release button.
- Padding: flattened foam that stays compressed after pressing.
Any cracked shell or failing buckle needs immediate attention. Swap compromised parts right away rather than waiting.
Seasonal Storage That Protects the Seat
Remove the seat from the bike before long storage periods. Scrub and dry every part thoroughly before packing it away. Select a cool, dry indoor spot for the off-season.
Damp garages invite mildew and rust on metal parts. Cover the seat with a breathable cloth, never sealed plastic. Lastly, loosen the straps slightly so they hold no tension.
Getting the Seat Ready for Spring
Unpack the seat and inspect it in bright daylight. Test the buckle, straps, and bracket before the first ride. Reinstall carefully and confirm every bolt holds firm.
Frequently Asked Questions
How often should I clean my baby bike seat?
Each week, wipe the shell, and deep-clean covers every two to four weeks.
Can I machine wash the seat covers?
Yes, if the manual allows it, use cold water and mild detergent, then air-dry completely.
How do I clean sticky harness straps safely?
Apply warm water and mild baby soap with a cloth, rinse well, and air-dry fully.
Why does my buckle keep sticking?
Crumbs and dried spills jam the mechanism, so rinse it with warm water and click it repeatedly.
When should I replace the seat instead of cleaning it?
Choose replacement after a crash, when the shell cracks, or when straps fray despite regular care.
Conclusion
Tidy seats look better and last longer. Furthermore, monthly checks keep every ride safe and smooth. Mark your calendar and follow this routine consistently.
Go inspect your seat this week and fix anything that looks worn. Enjoy confident, comfortable rides together all season.